Looking for a simple way to add text over image overlay in Elementor editor?
If said yes, this is the right tutorial to learn to place text boxes over an image on hover using Elementor page builder or UAElementor.
Plus I will also teach you adding hover effects layer text overlay on the respective image too.
To make this article more informative, I have added some helpful YouTube video links too.
So let’s get started the guide:
Adding a text box over an image in Elementor
Before I start let me tell you, make sure you have installed Elementor plugin on your WordPress site either it’s free or pro doesn’t matter.
Elementor place background image with a text box over it
Step 1 – Login to WordPress Admin Area >> Pages >> New Page.
Step 2 – Once the page editor loads, type the name of the page. In my case, I named Background Image Carousel.

Step 3 – Next, click on the Edit With Elementor (however you can edit existing pages or templates to add a text layer on media files either images or videos).
Step 4 – After Elementor Editor loads, click on Add New Section.

Step 5 – In the next step Select Section Type. In this tutorial, I go for a full-width section. But you can choose to depend upon your page design needs.
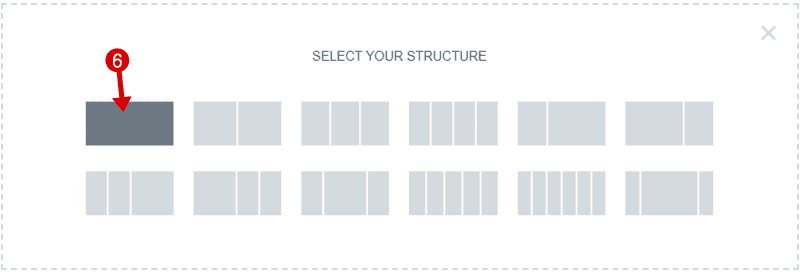
Step 6 – Now select the Column and add a pic as a Section Background >> Add Background Image and style the way you want.
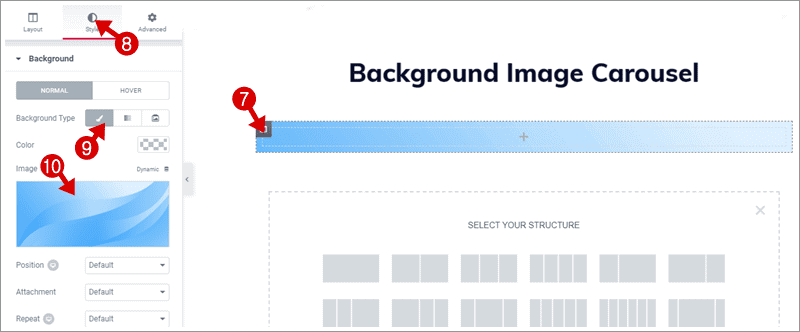
Step 7 – Click on + Icon and select the text format you want to display over the image. In the below image I selected Text Editor.

Step 8 – Finally play with your text the way you want to display on the website.
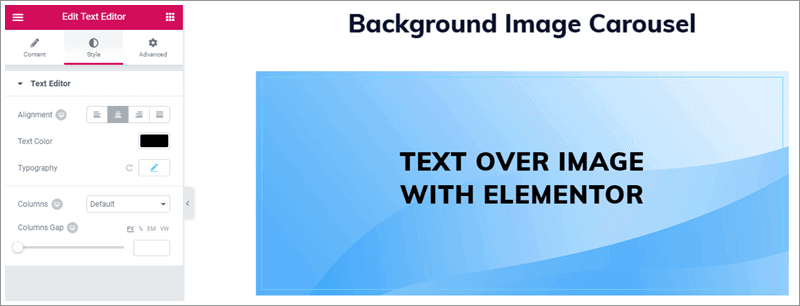
So by following the above easy steps, you can create text over image using Elementor editor.
Creating hover text over image with Elementor plugin
Step 1 – The very first step to download and install a free plugin Image Hover Effects Addon for Elementor.
Step 2 – Create a new page or starting editing the existing with Elementor editor.
Step 3 – After the editor loads, add a new section and select section type as did in the recent 4th and 5th steps.
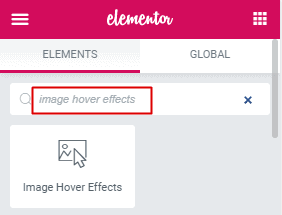
Step 4 – Search for Image Hover Effects in the left menu and add it in to the section created in the 3rd step.
Step 5 – Click anywhere on the column and start adding information. For example, see below screenshot:
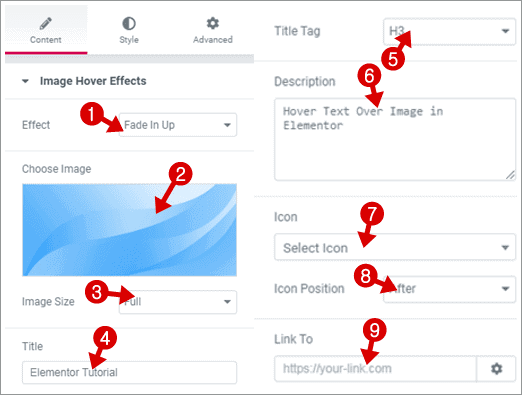
- Effect: Image layer effects on hover
- Choose Image: Background pic upload option
- Image Size: Set height-width image
- Title: Place a text box title
- Title Tag: Choose a heading style
- Description: Add a text box description
- Icon: Custom icons to display with the title
- Icon Position: Set befoe-after icon with title
- Link To: Link background image to a custom link
Step 6 – Play with your background image styles and text font family, font size, margins, padding etc. with Style and Advanced overlay options from the menu bar.
Step 7 – Once you are done with your design, click on the publish button.
See, how easy is to add a hover effect on background images?
Bottom Lines about Elementor text over image
I am using Elementor Pro from August 2019 and all I say, this is one cheapest price with high creativity featured page builder for WordPress.
If you are using its free version that good. But if you want something best from it then upgrade your Elementor free to pro with at 37% discount buying their Plus Plan.
If you need more information regarding our Elementor hover text over image guide, please send me your questions via comment box.


